Rain Hoods
Weather-protected 900-LFCs include a quick-clip removable rain hood for indoor/outdoor touring and sheltered outdoor installations.
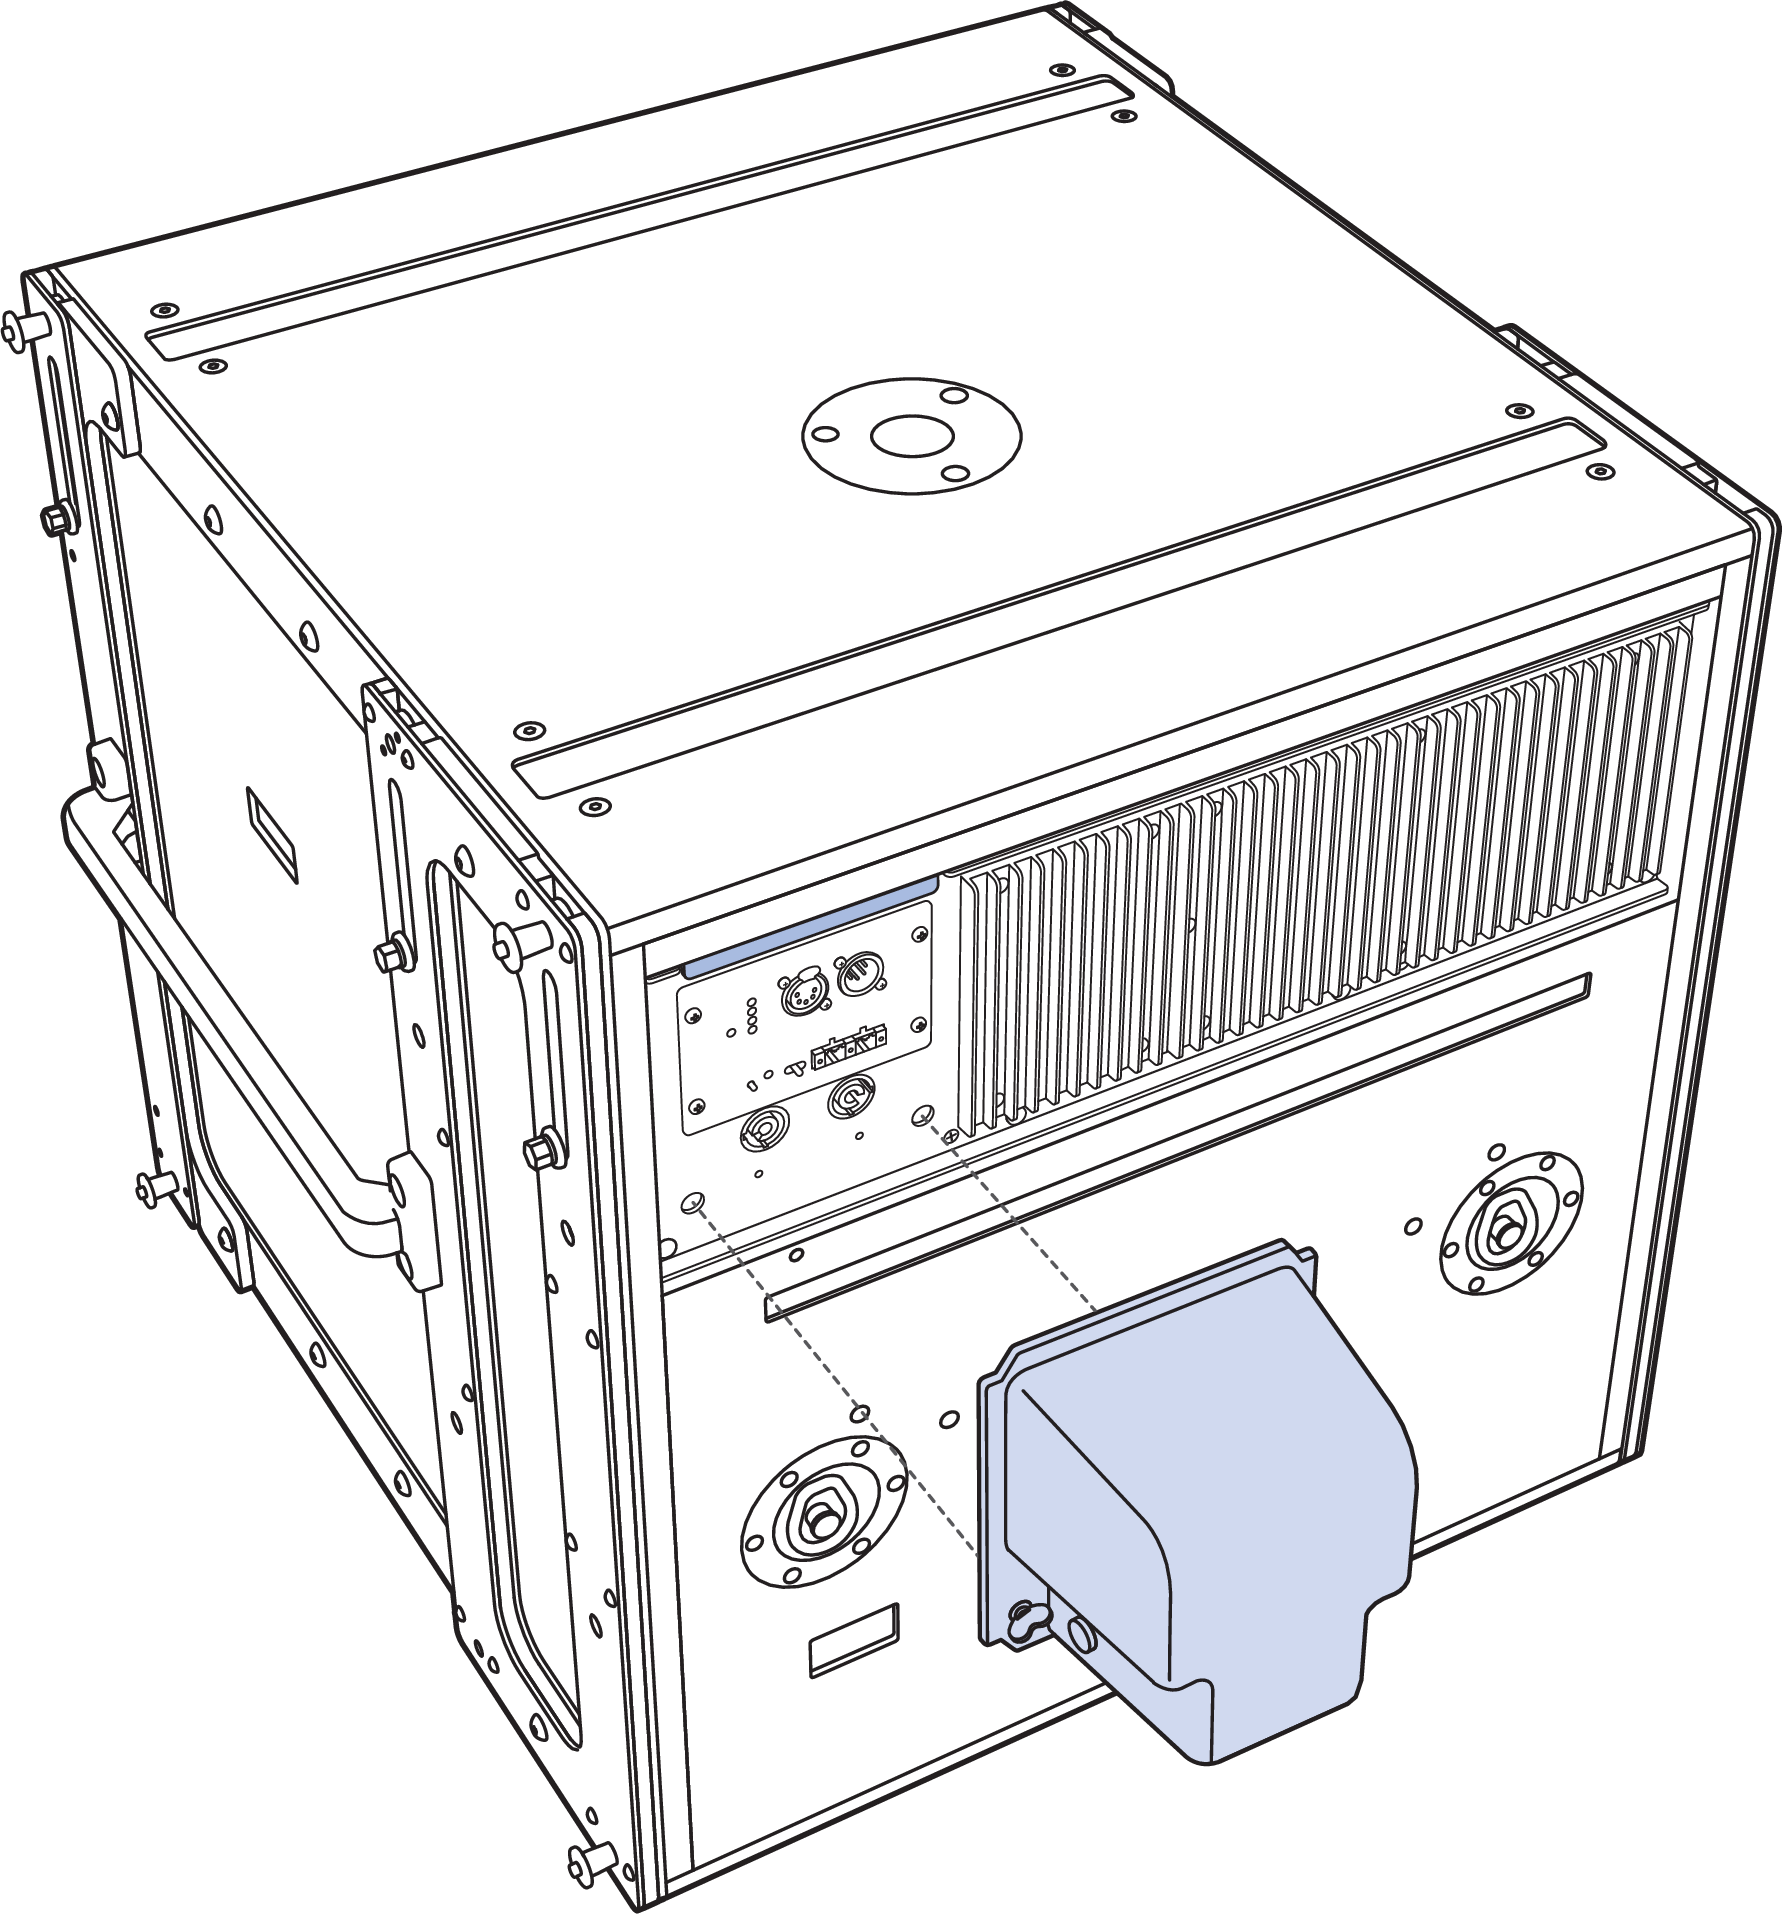
900-LFC Quick-clip Rain Hood
The 900-LFC quick-clip removable rain hood is easily attached and removed with its two winghead studs, as shown in the figure below.
Connect any required cables to the 900-LFC loudspeaker.
Attach the rain hood to the user panel, slipping it under the rain hood retainer flange at the top of the user panel and securing it to the center of the panel with its two winghead studs.
900-LFC with Quick-Clip Rain Hood
Make sure to tighten the winghead studs one quarter turn so they fully lock.
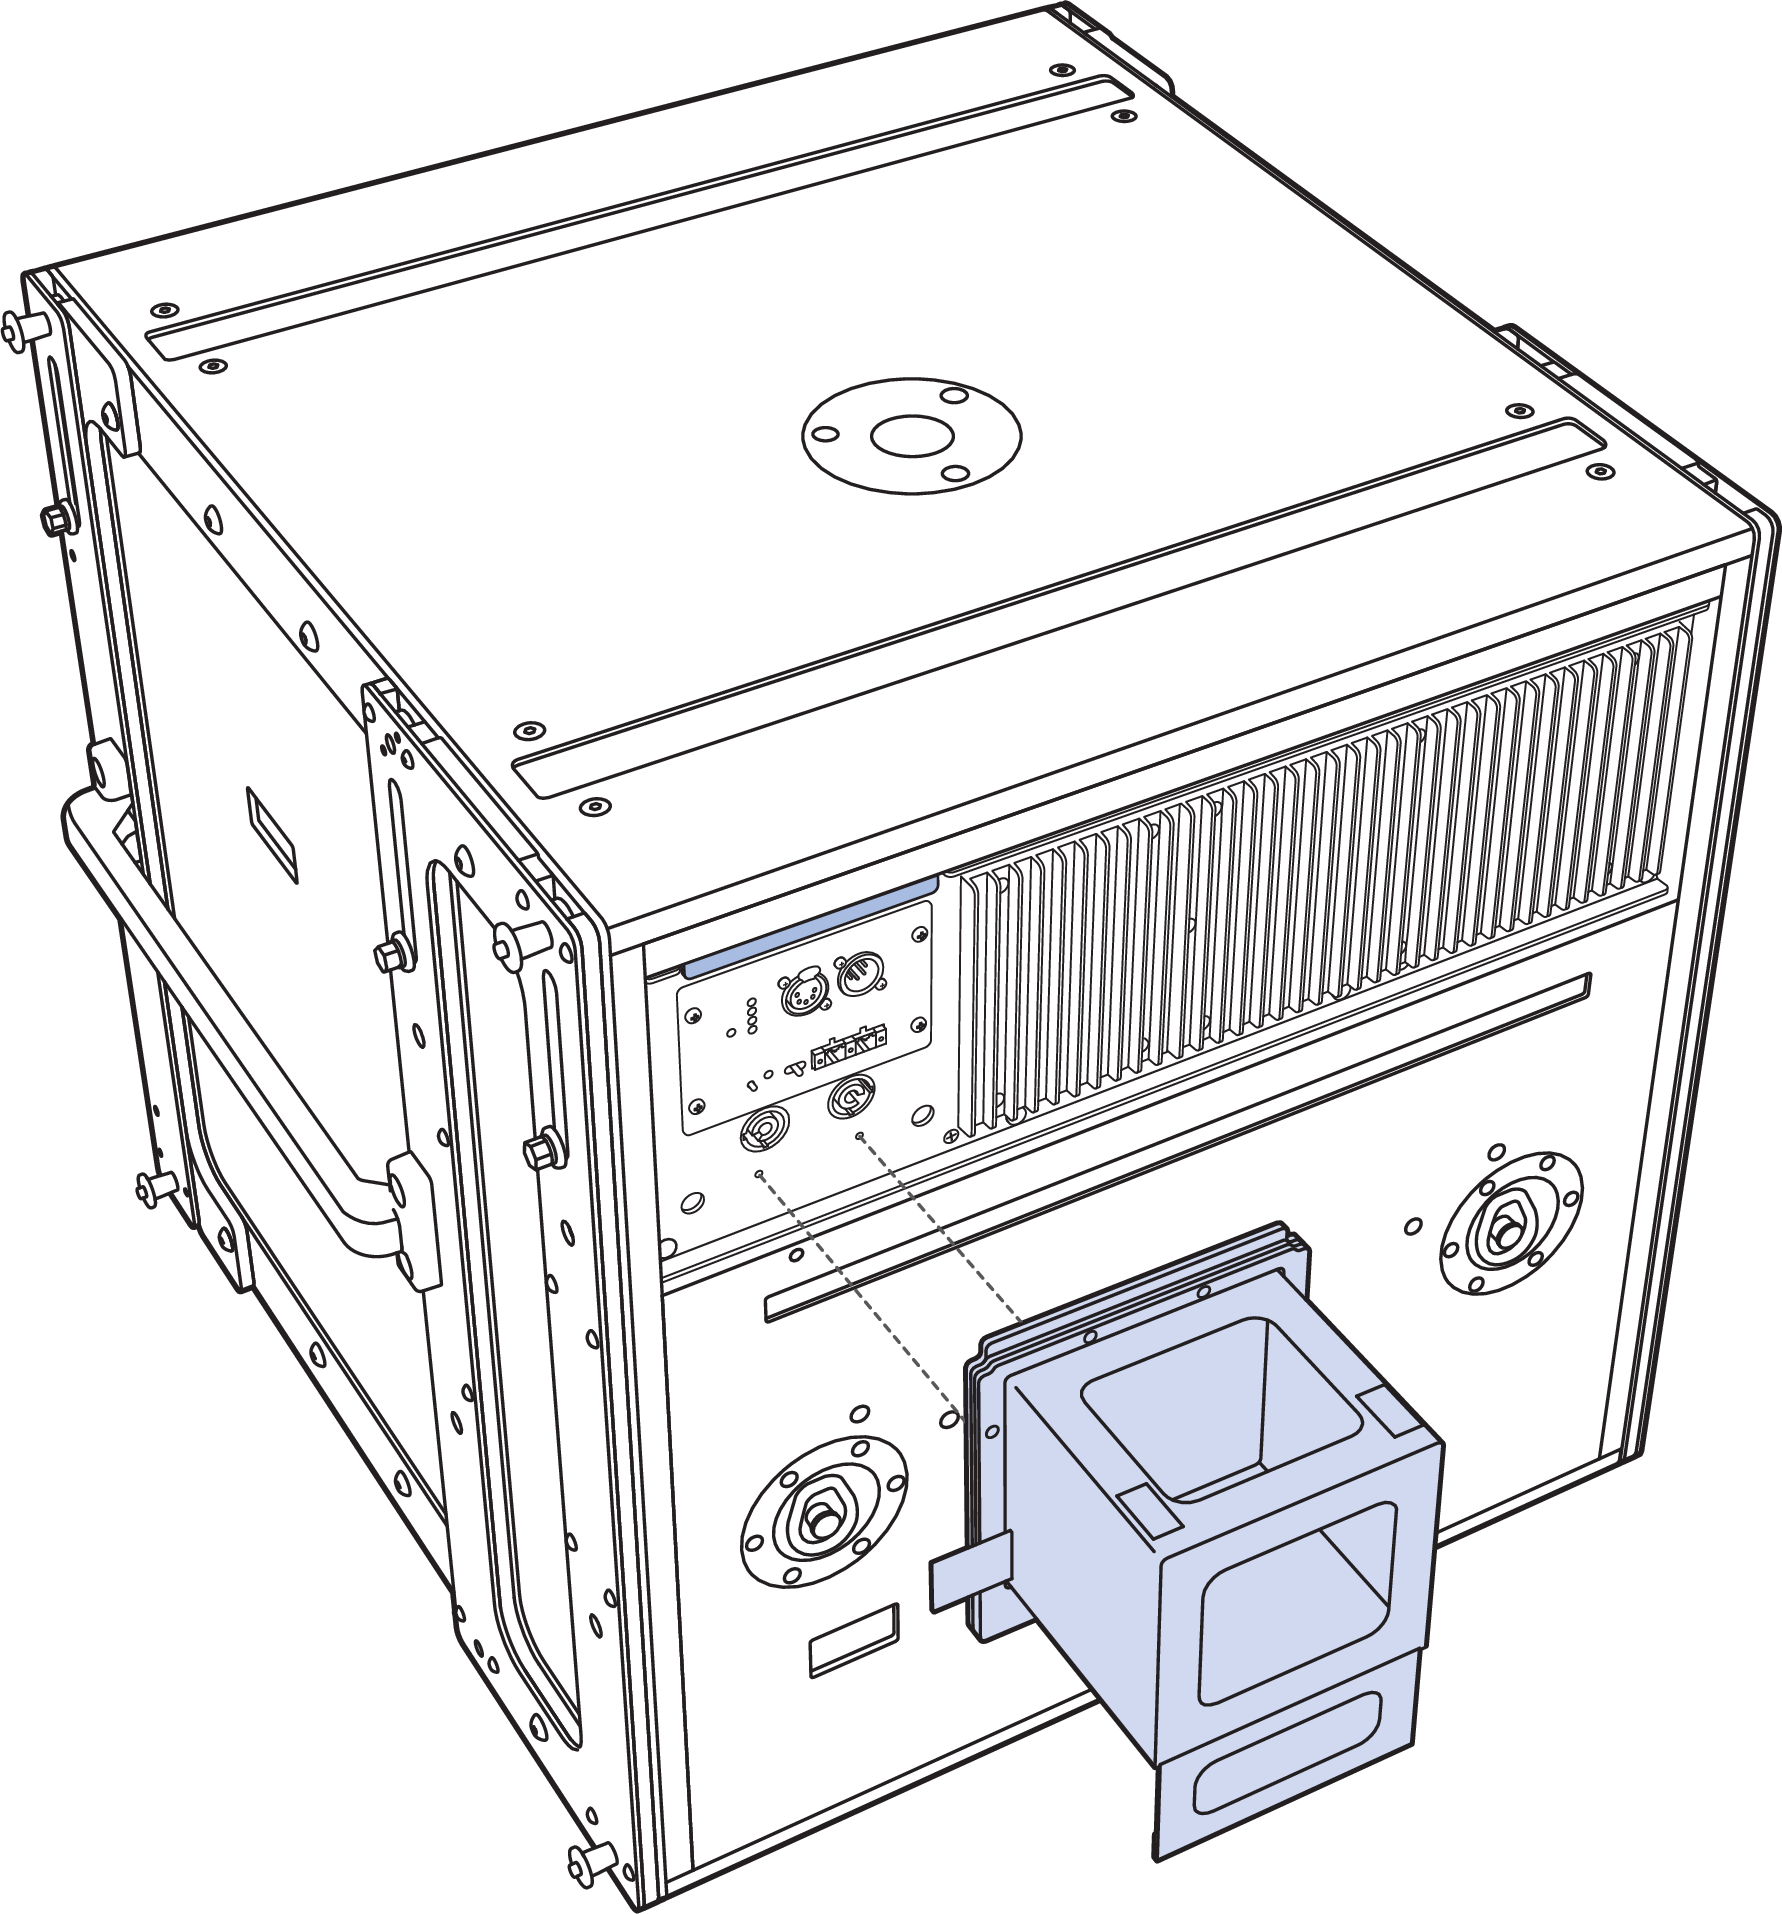
900-LFC Collapsible Rain Hood
Another option for weather-protected 900-LFC loudspeakers is the collapsible rain hood.
The 900-LFC collapsible rain hood is easily attached and removed with its two screws.
Slip the rain hood under the rain hood retainer flange at the top of the user panel.
Secure the rain hood at the bottom of the panel with the two provided 6-32 x 0.75-inch stainless steel screws.
Make sure to tighten the screws to create a good seal against the user panel. The recommended torque value for rain hood screws is 10–12 in-lbs (1.1-1.4 N·m).
900-LFC with Collapsible Rain Hood
Detach the Velcro straps and extend the rain hood.
Extend the lower flap for splash protection.
Attach any required cables to the 900-LFC.
The clear windows let you easily locate the connectors on the user panel.
To stow the rain hood, reverse the steps.
Note
There is only one proper loudspeaker orientation once the rainhood is installed. The loudspeaker must be oriented so that all cabling exits from the bottom of the rain hood.
The weather-protected 900-LFC must be mounted with a 0° tilt, or preferably with a slight down-tilt. This angle shields the driver from the elements and does not allow water to accumulate. Do not tilt the cabinet up, as the drivers and cabinet will accumulate water.
Rain Hood Baffle Installation
Gather the LEOPARD/900-LFC Rain Hood Baffle (PN 64.243.104.01) and the two pan head Phillips 6-32 x 0.25-inch stainless steel screws (PN 101.405).
Turn the loudspeaker so that the rear is accessible.
Locate the two screw holes beneath the powerCON connectors on the user panel (left side of the loudspeaker).
Attach the Baffle in the orientation shown in Figure 32 using the two provided screws. The recommended torque value for both screws is 10–12 in-lbs (1.1–1.4 N·m).
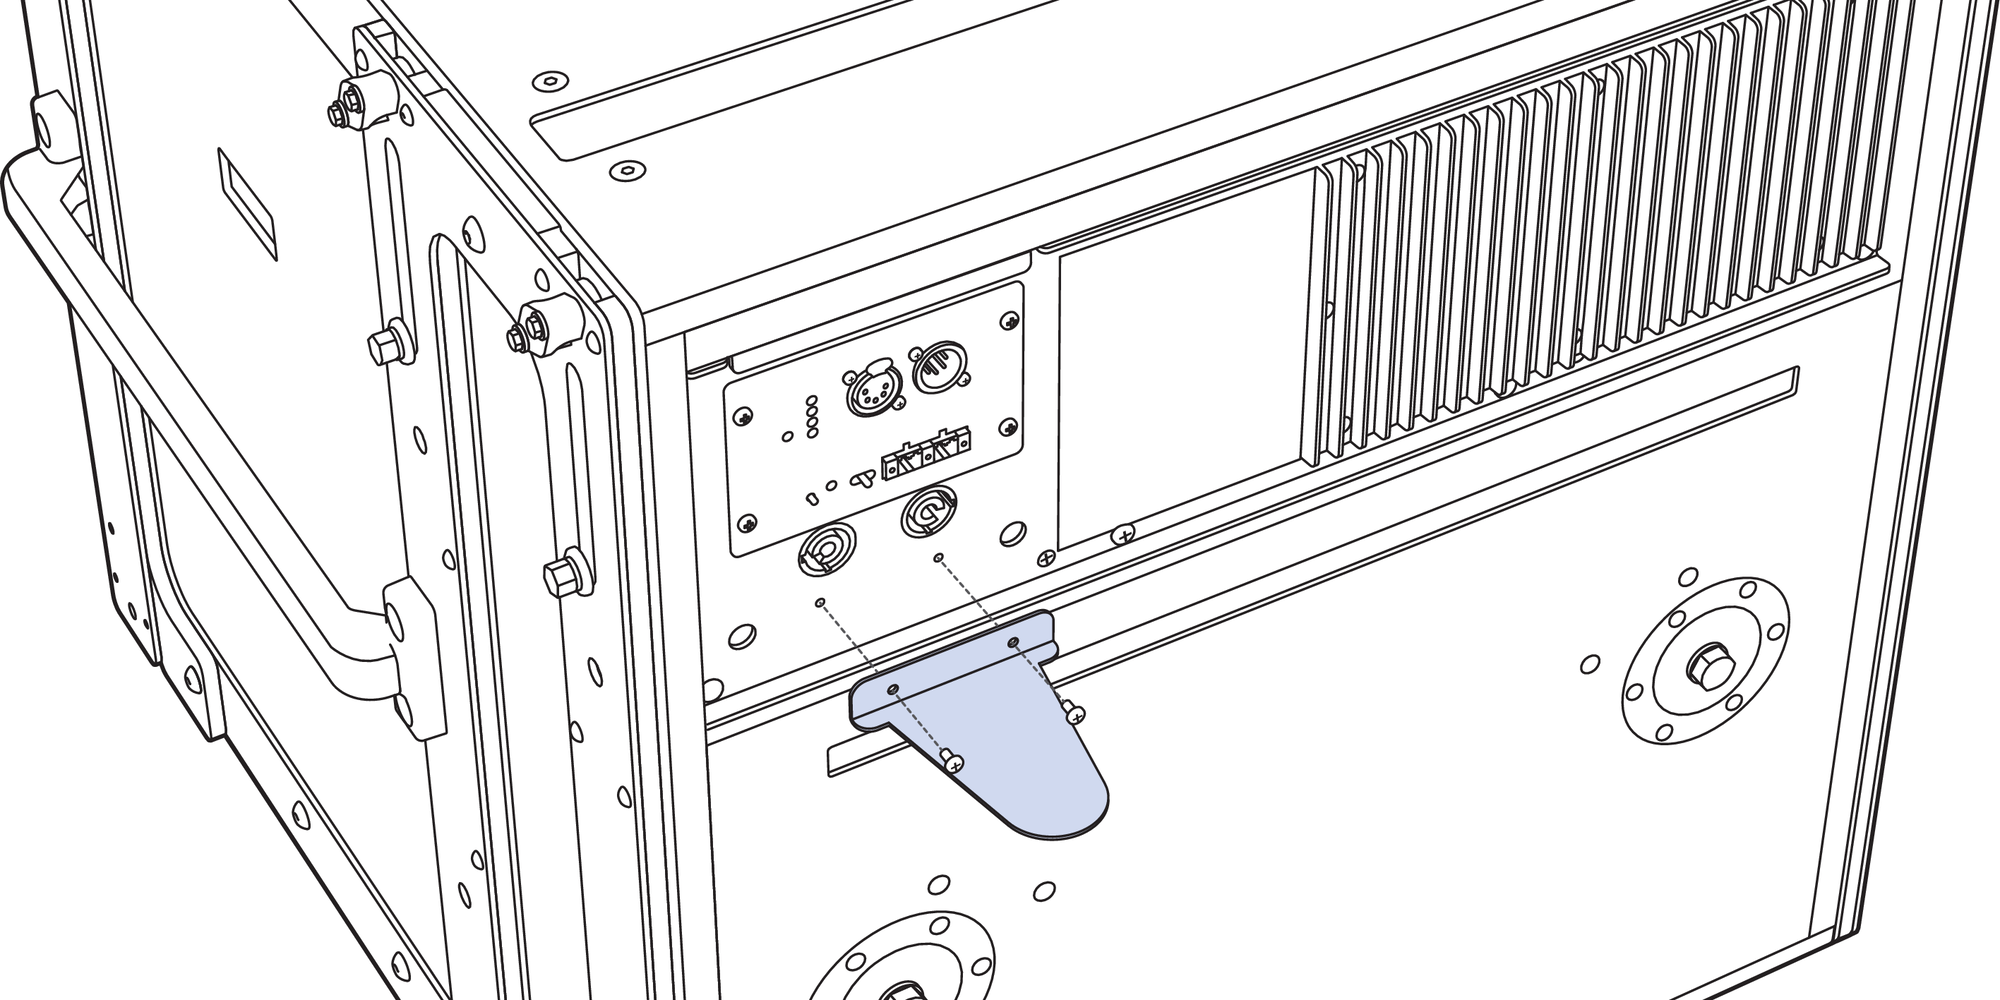
Attaching Rain Hood Baffle to LEOPARD Loudspeaker User Panel
Ultra Weather Leopard/900-LFC Rain Hood Kit
The Ultra Weather Protection LEOPARD/900-LFC Rain Hood Kit includes the following parts:
LEOPARD/900-LFC Quick Clip Rain Hood with Splash Shield Assembly (PN 45.243.241.01)
LEOPARD Rain Hood Baffle (PN 64.243.104.01)
2 pan head Phillips 6-32 x 0.25-inch 316 stainless-steel screws (PN 101.405)
Routing Cables and Attaching Rain Hood
Install the necessary audio and power cables.
Attach the rain hood to the user panel, slipping it under the rain hood retainer flange at the top of the user panel.
Route the cables through the rain hood on either side of the baffle and through the bottom of the rain hood.
Push the rain hood flush against the loudspeaker.
Secure it to the loudspeaker by giving the two captive wing-head stud fasteners on either side of the rain hood a quarter turn, so they fully lock.
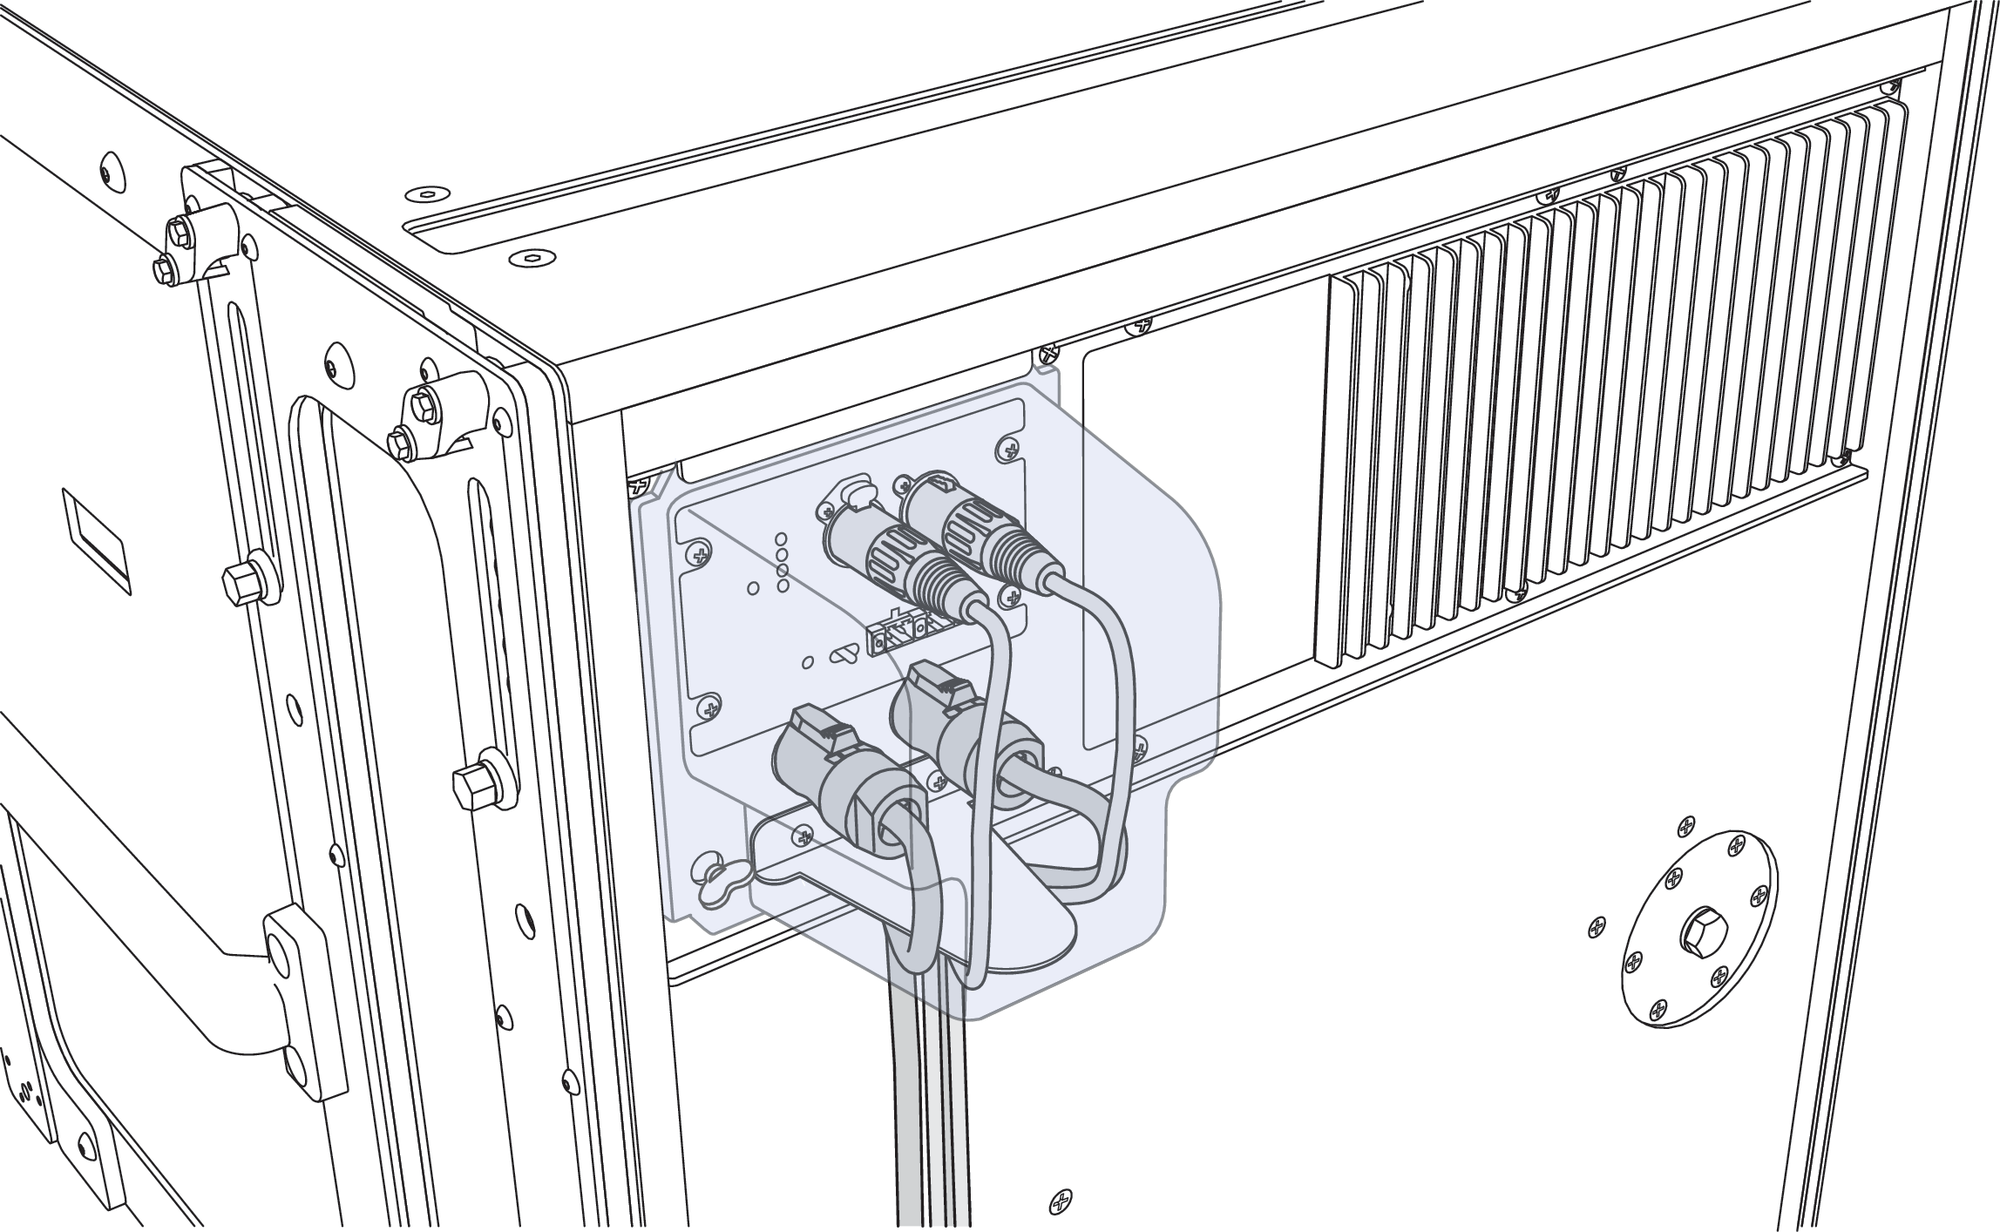
Routing Signal and Power Cables Through Rain Hood and Around Baffle
Note
Ultra Weather Protected units using the LEOPARD/900-LFC UW Rain Hood are rated IPX5 for water intrusion.