Matrix view
To display the Matrix View, tap the Matrix Icon (highlighted in the figure below) in the top menu bar from any Compass Go view.
The Matrix View has three tabs: Gain Mode, Router Mode, and Delay Mode. Touch a tab to change the display. When visiting other views, the last mode displayed is used when you reselect the Matrix View. Gain Mode is selected in the figure below.
Each matrix contains the following entries:
8 processed inputs A–H
24 unprocessed AVB inputs 9–32
16 processed outputs 1–16
Gain mode
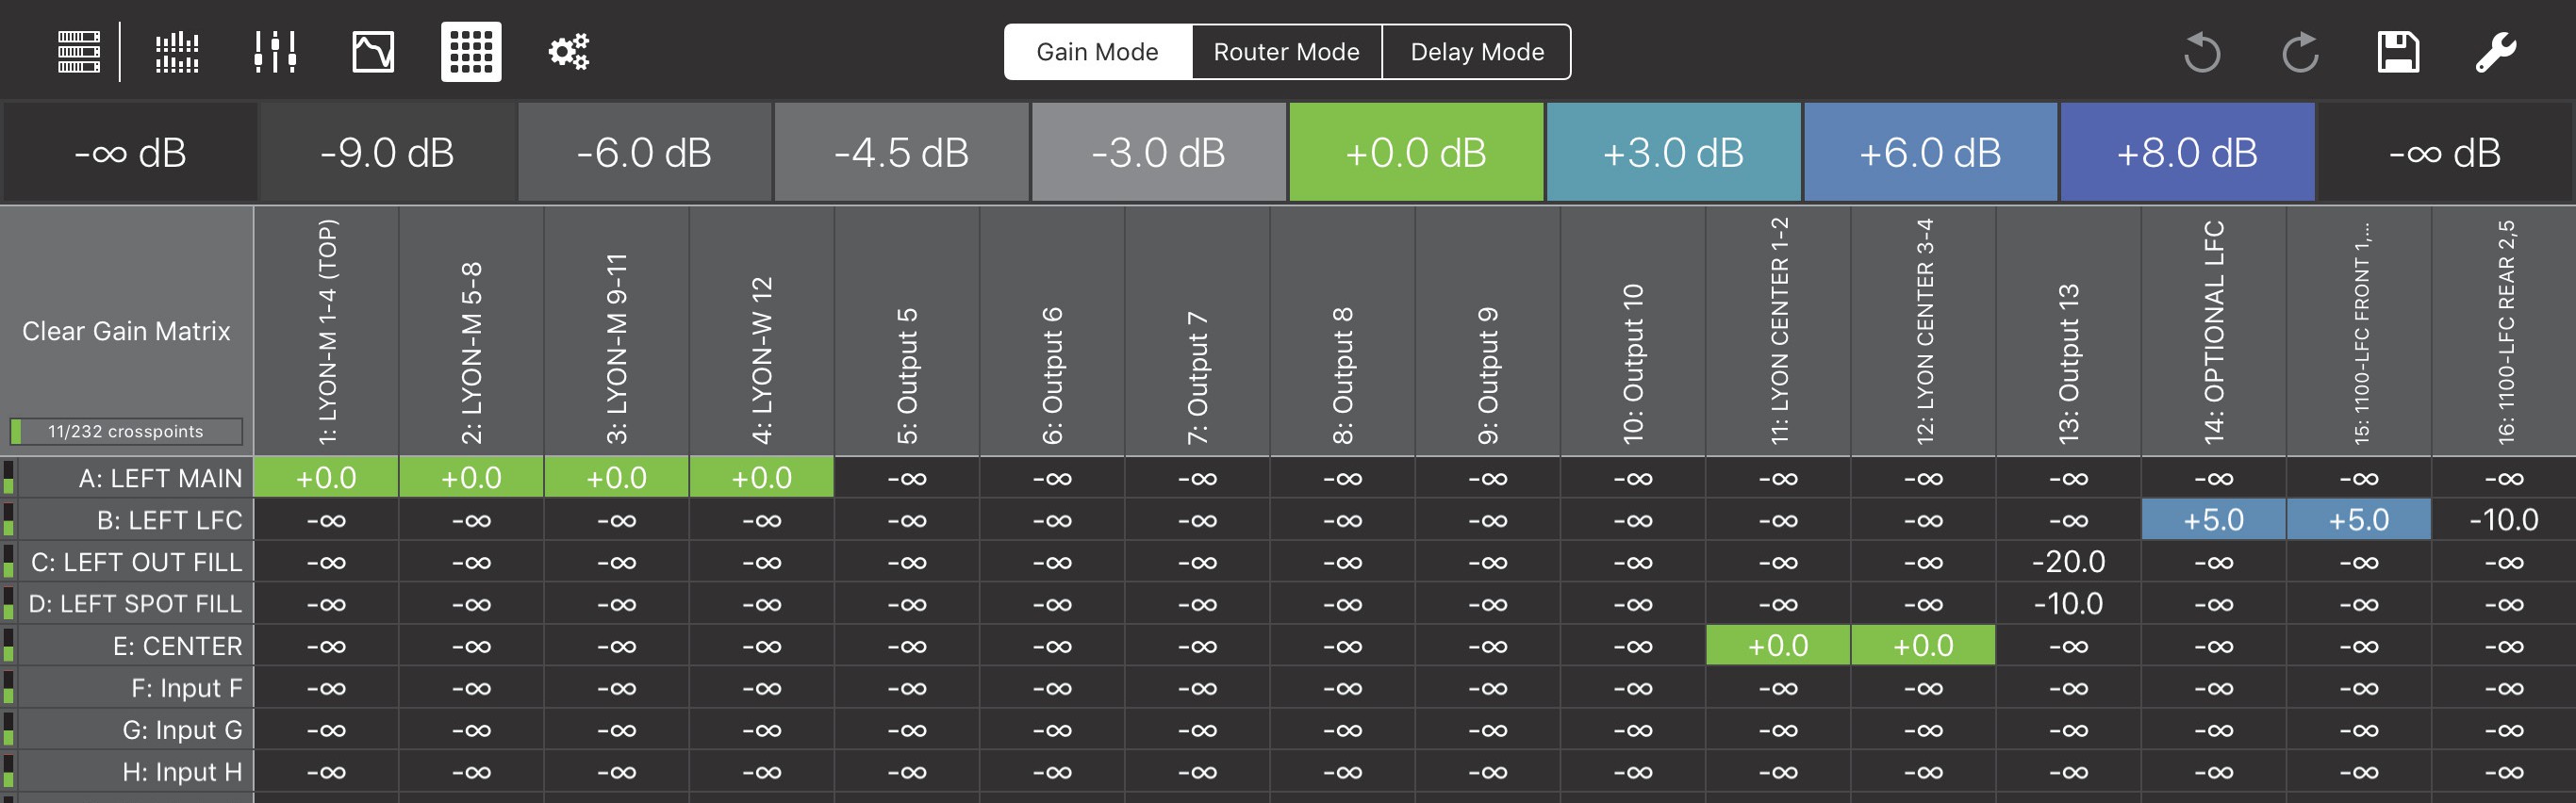
Matrix View in Gain Mode
Touch the cell to select it.
A white rectangle encloses the cell. The selection persists for 3 seconds before extinguishing.
Touch a dB value from the top list.
The cell updates with that value.
Touch multiple cells to select them.
A white rectangle encloses each selected cell. The selection persists for 3 seconds before extinguishing.
Touch a dB value from the top list.
The cells update with that value.
To select an entire Input or Output, touch its label on the left or top, respectively.
To select all cells, touch Select All at the top left.
Router mode
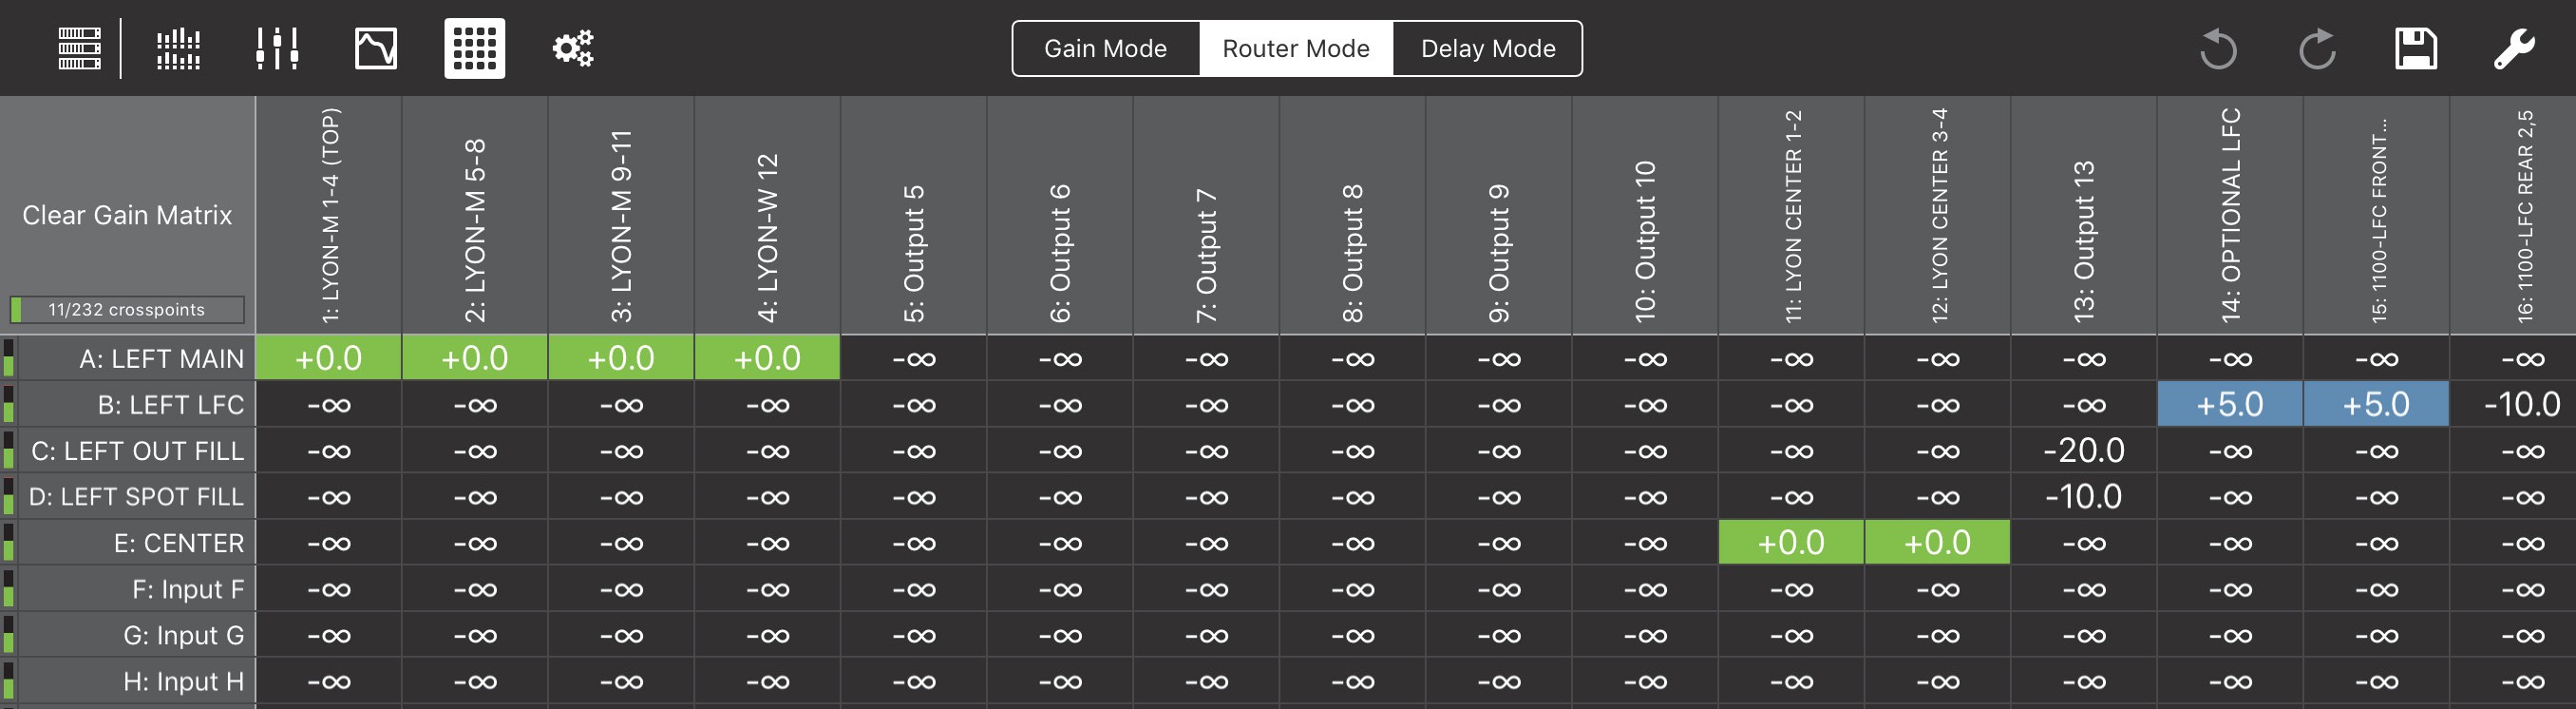
Matrix View in Router Mode
Touch a cell marked -∞ to set it to 0 dB.
Touch a cell marked with any dB value other than -∞ to set it to -∞.
Double-tap the cell.
A numeric pad opens.
Enter a new value.
Gain settings can vary from -90 to 20 dB.
The +/- button toggles between positive and negative values.
Note that when no sign is shown, the value is interpreted as negative.
Touch Done when finished.
Touch an Input or Output label.
Touch Clear Gain Matrix
Note
See ??? to learn about additional assignment options
Delay mode
Delay Mode can set a delay between Inputs and Outputs.
Matrix View in Delay Mode
To select one or more cells for editing, do one of the following:
Touch each cell you wish to select.
Touch an Input or Output label to select the entire row or column, respectively.
Touch Select All at the top left to select all cells.
A white rectangle encloses each selected cell. The selection persists for 3 seconds before extinguishing. While cells are selected, do either of the following:
Drag up/down to increase/decrease the delay.
- OR -
Double-tap a selected cell. A numeric pad opens.
Enter a new delay value.
Touch Done when finished.
All selected cells update with their new values.
Expanded matrix inputs
The figures below show the expanded Matrix inputs available to the Router, Gain, and Delay Matrices. You can zoom in/out with a two-finger spread/pinch gesture.
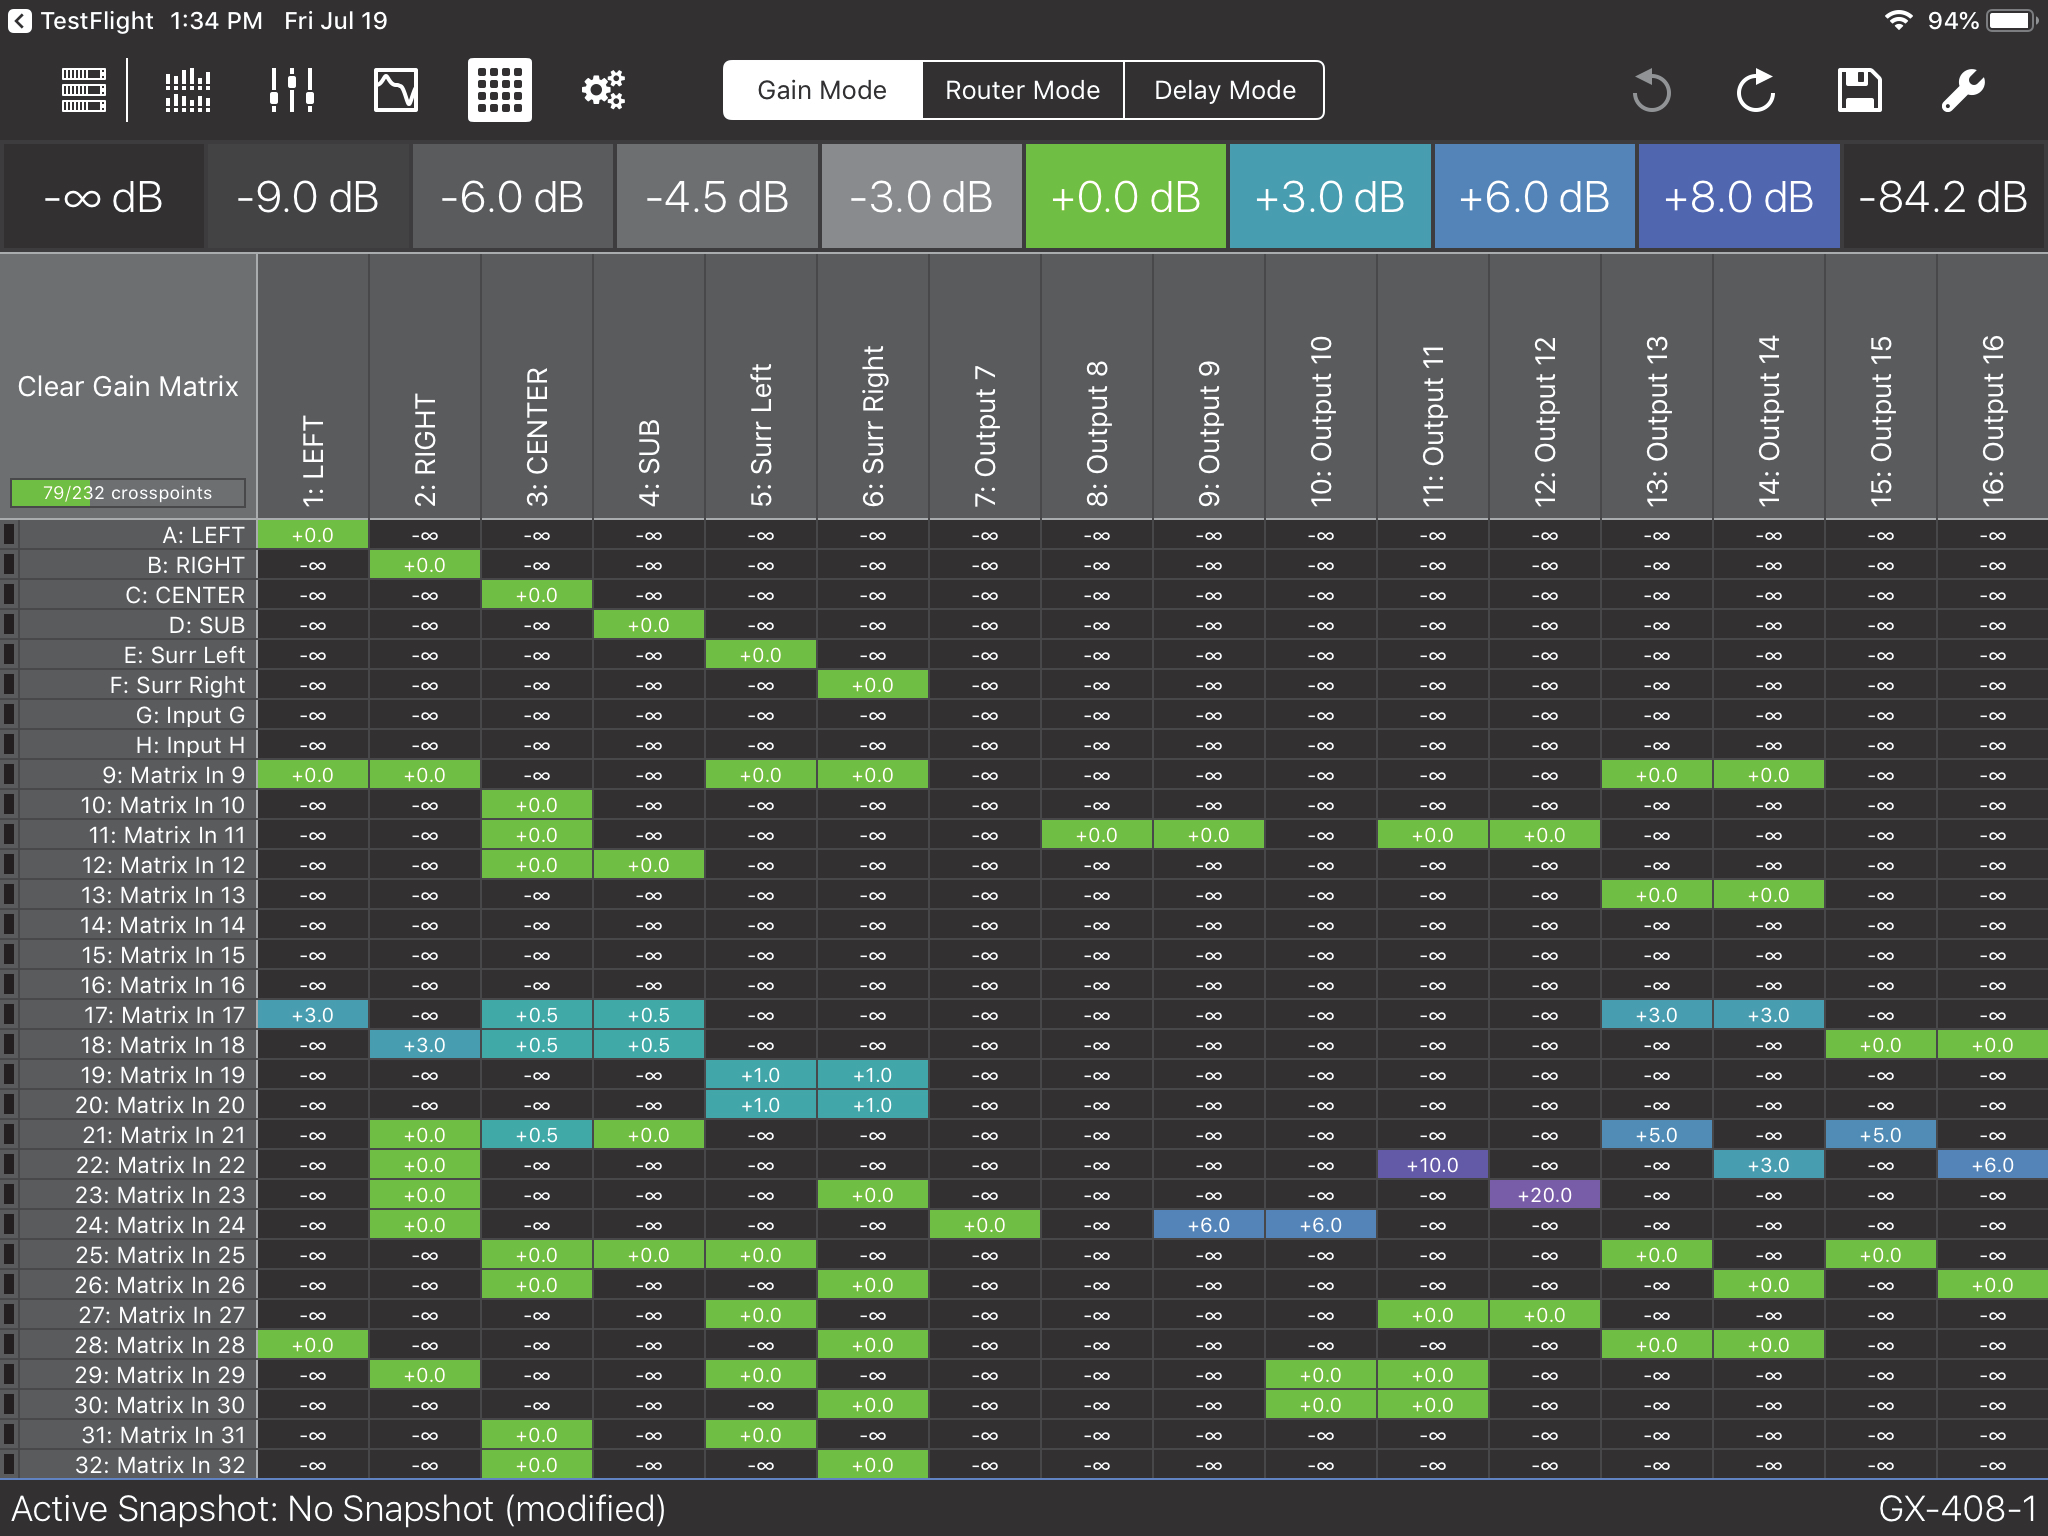
Expanded Matrix Inputs
Expanded Matrix zoomed in
Matrix view tools
Tap the Tools icon at the top-right of the Matrix View to open the following dialog:

Tools options from Matrix View
Direct router mode
The Direct Router Mode affects subsequent Router tab assignments in the Matrix View:
Slide the button to the left (inactive) position to disable direct routing.
Tap a crosspoint to toggle the gain between -∞ and 0.0. Multiple inputs can be routed to one output.
Slide the button to the right (active) position to enable direct routing.
Tap any crosspoint set to -∞ to change its value to 0.0, and set all other crosspoints in that column (out- puts) to -∞. This automatically restricts routing to one input per output.
If you previously assigned multiple inputs to the same output, and then activated Direct Router Mode, you could conceivably toggle one assignment to -∞ and still have multiple inputs routed to that output. However, by tapping any output crosspoint set to -∞, you will toggle it to 0.0, and set all other crosspoints in that column (outputs) to -∞.
Control sensitivity
This sets the sensitivity for Compass Go’s touch controls.
Touch the current setting and choose Low, Medium, or High (default).
High sensitivity causes the fastest change in value per distance dragged.